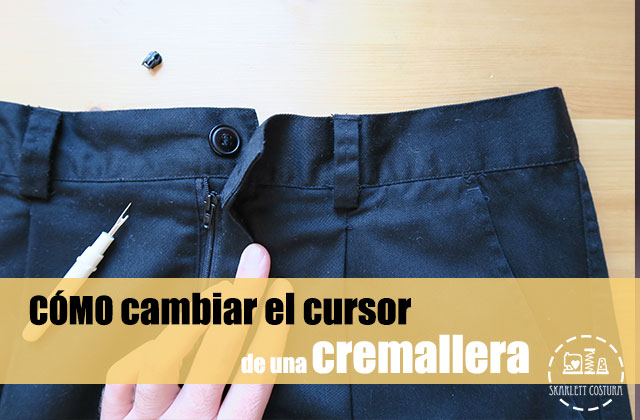
In this post you will learn how to change the cursor of a zipper in a very simple way.
Having to fix a zipper is one of the most common things in sewing, and it is also very practical.
By learning to do so, you can give a second chance to many of your garments, those of your loved ones, or customers.
HOW TO CHANGE THE CURSOR TO A ZIPPER
It's very simple, just follow these five steps:
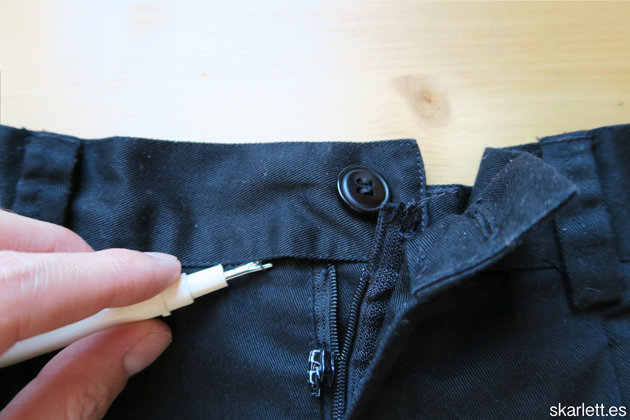
1. First, unsew the waistband of the pants, only in the area where the zipper is attached.
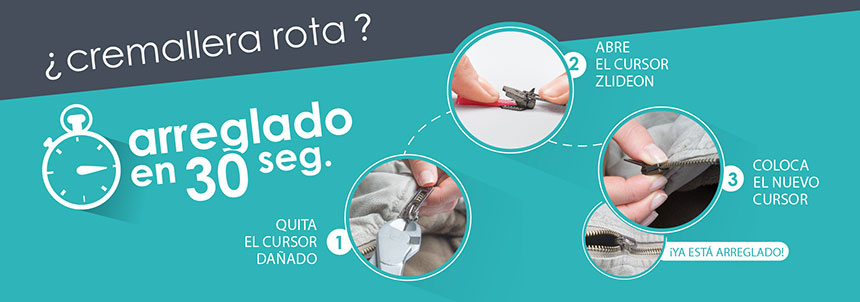
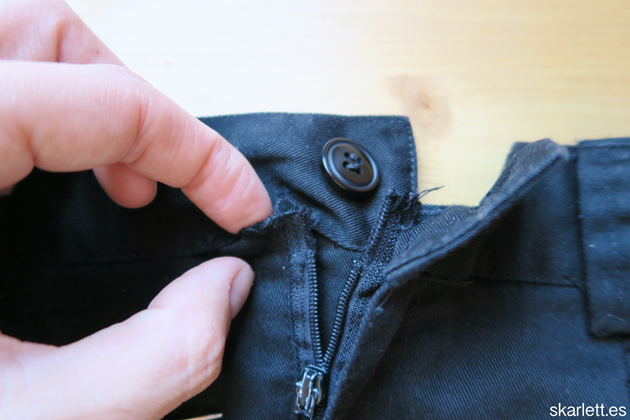
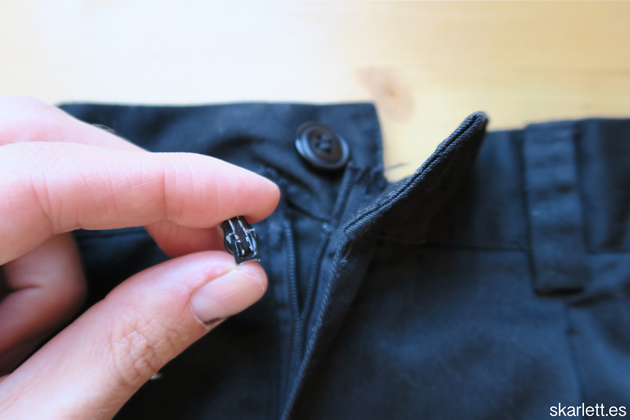
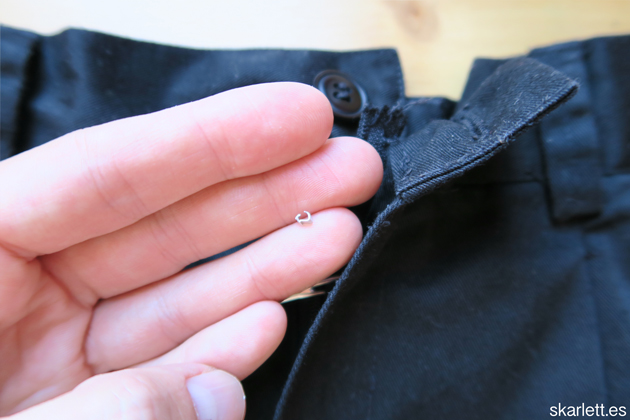
2. When you've done that, take out the ends of the zipper that were hidden in the waistband, remove the metal stopper from the top.
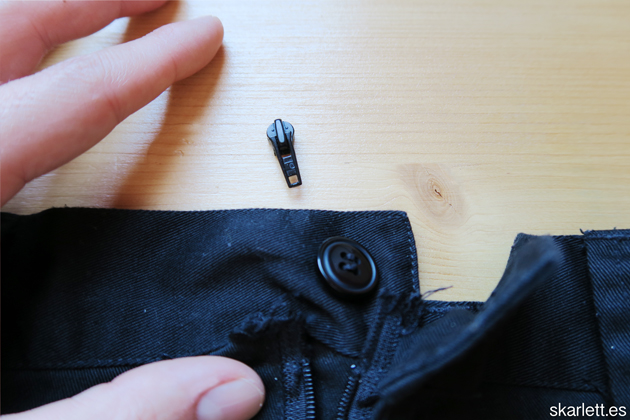
Take out the broken cursor, trying to keep the zipper closed when you do so so that it will be easier for you to place the new cursor.
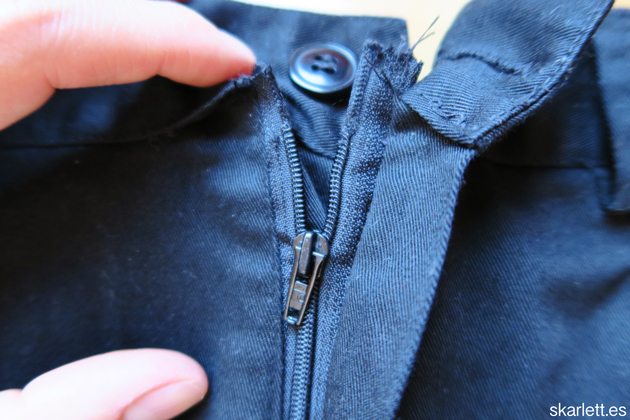
3. Now place the new cursor.
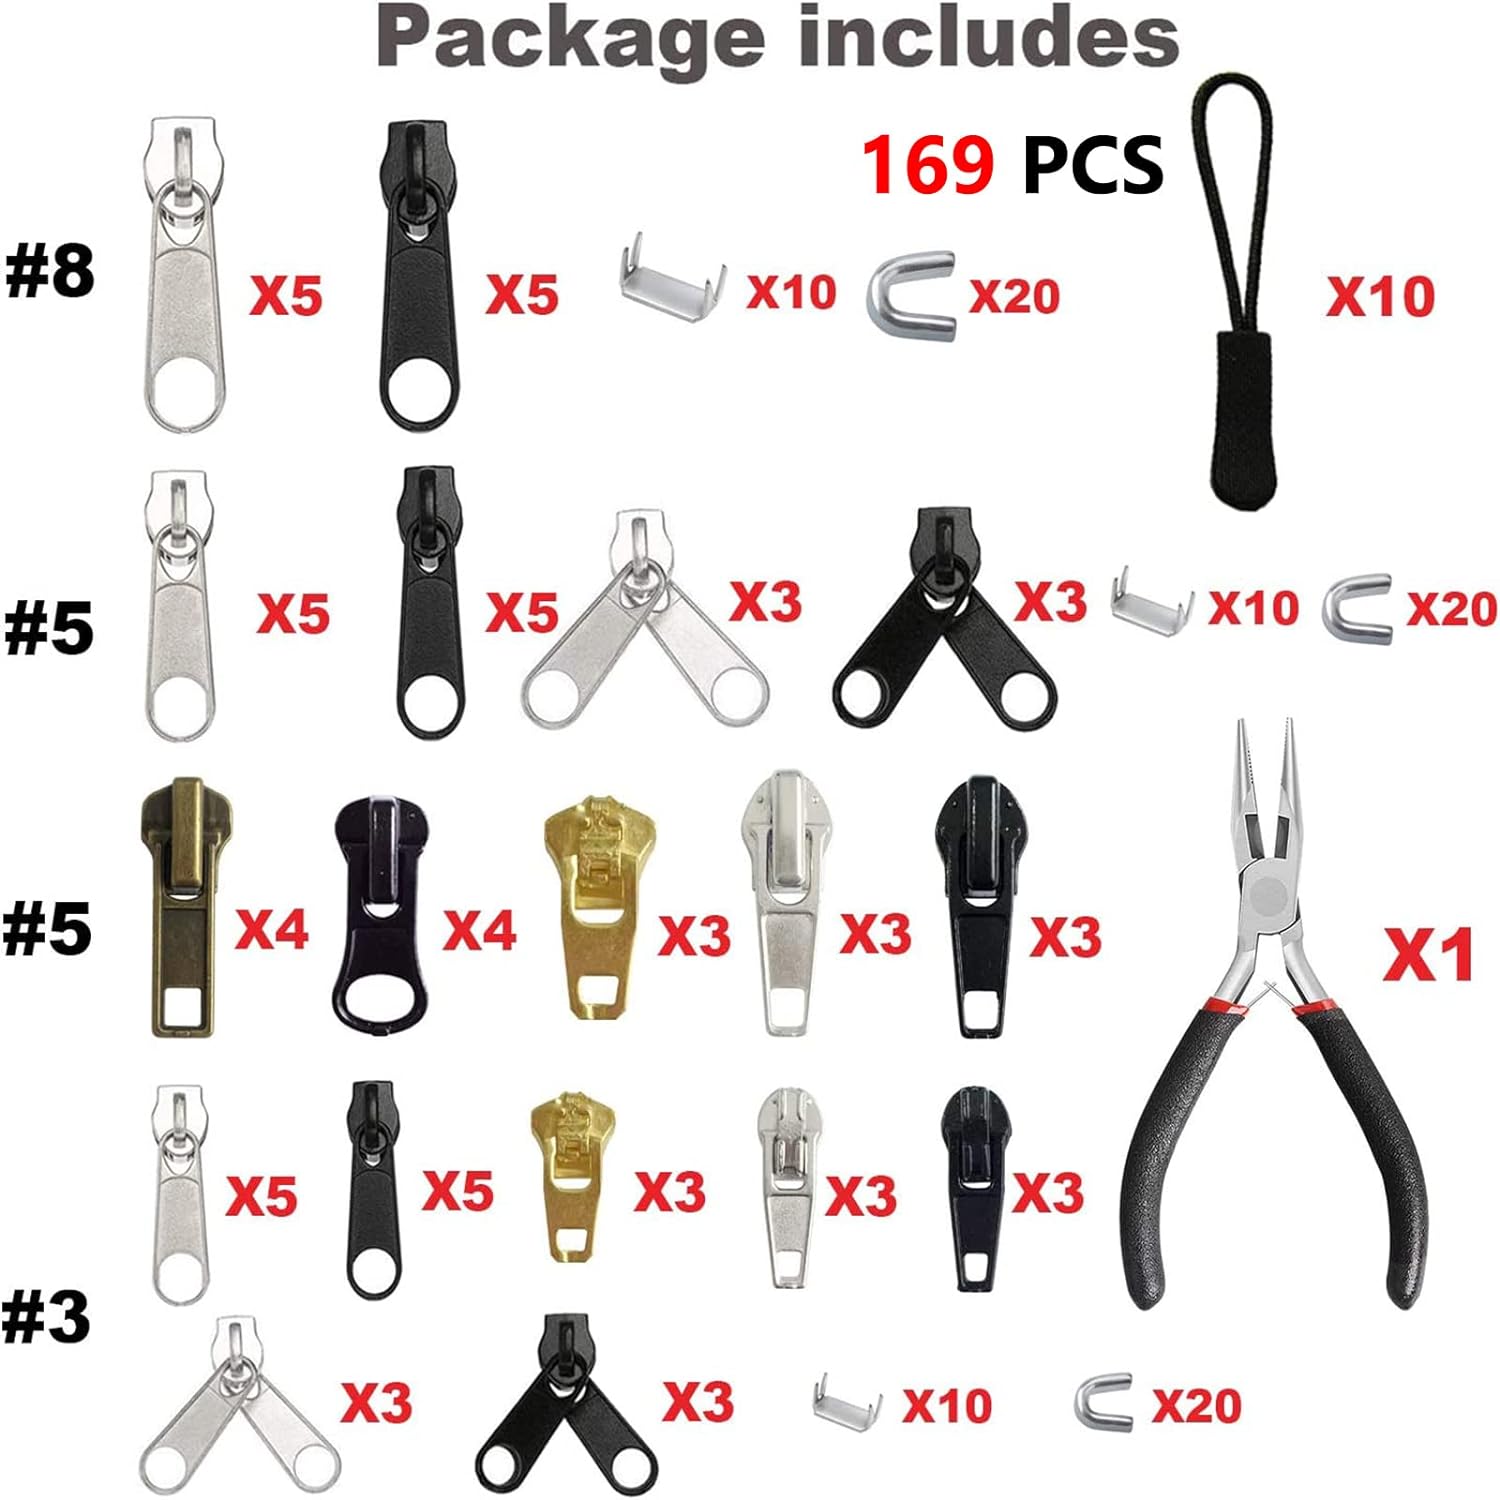
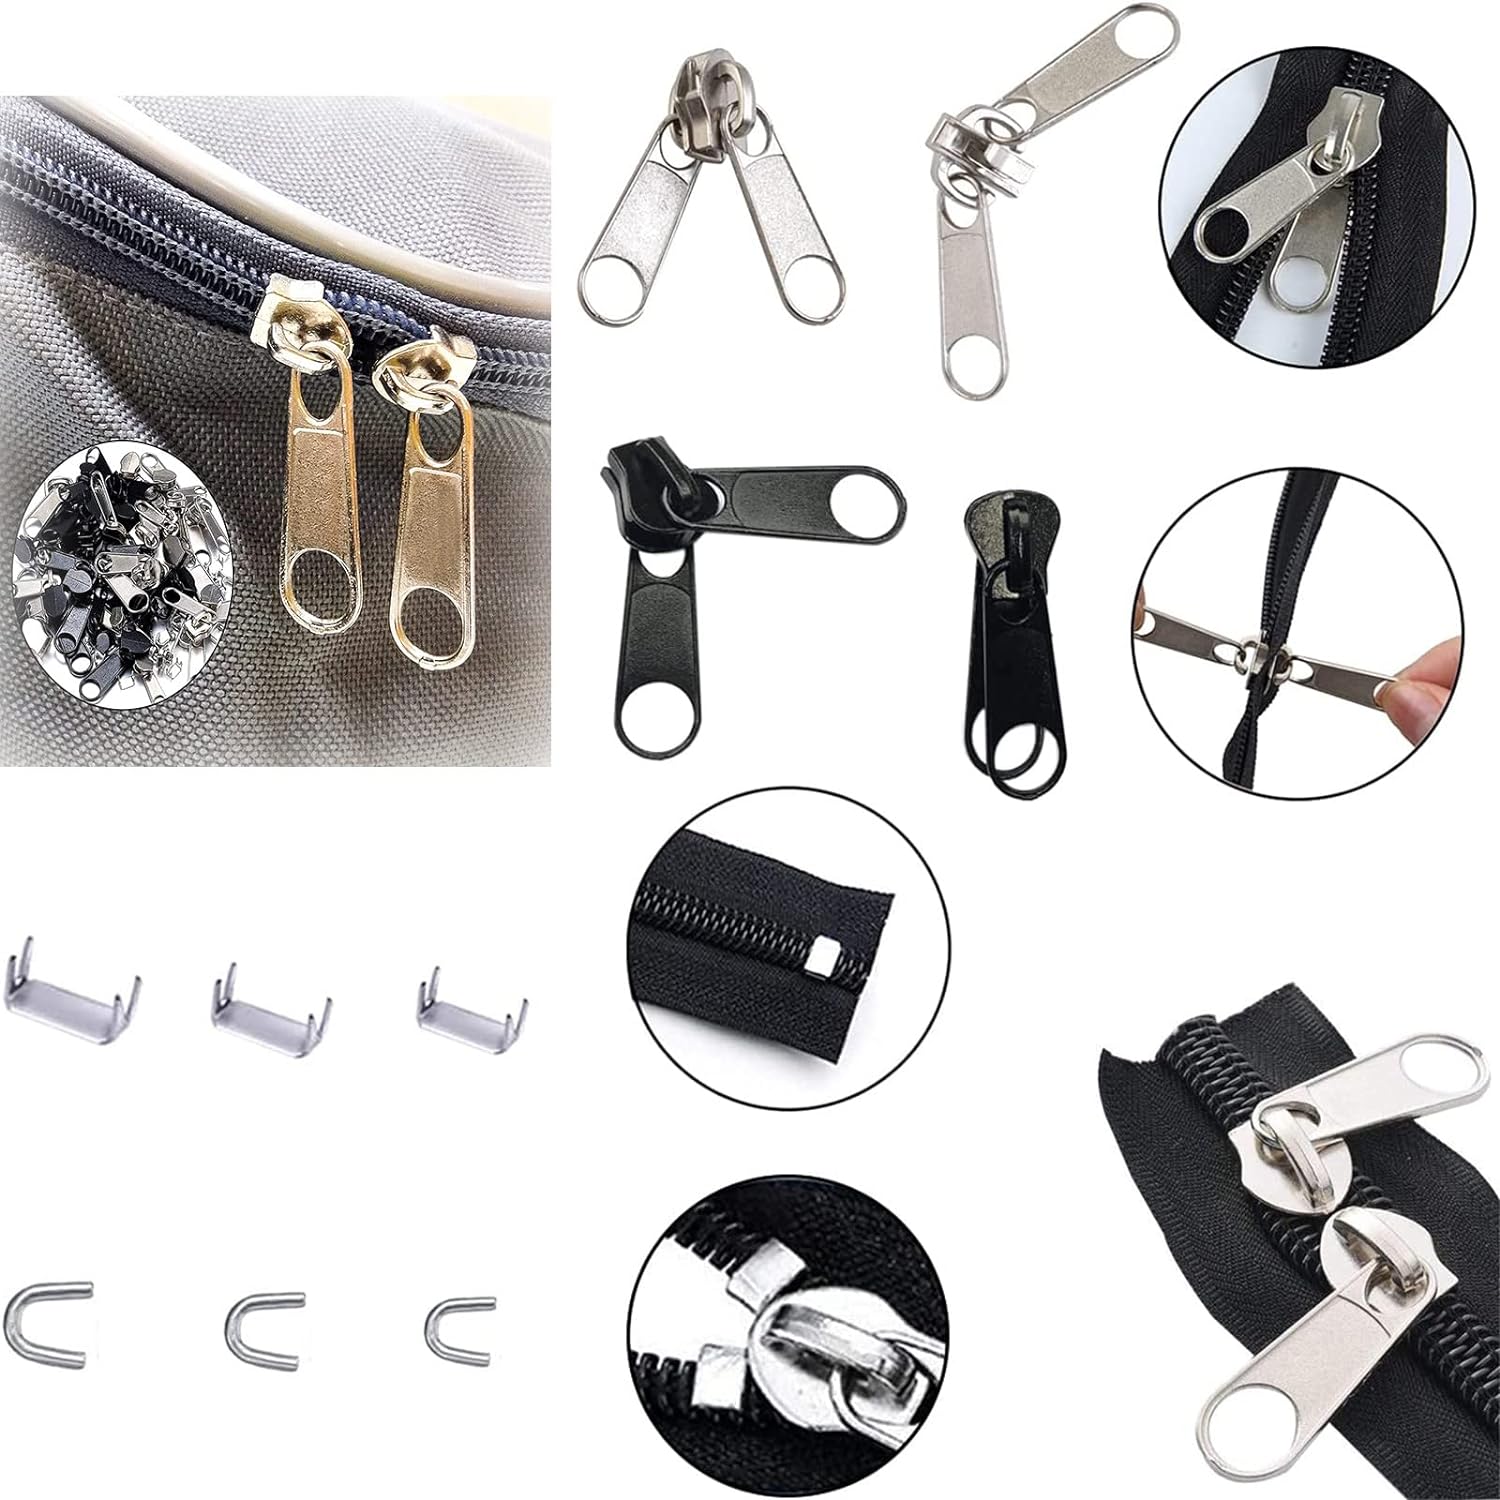
The new cursor can be recycled from any other pair of trousers that you plan to dispose of or buy at your haberdashery.
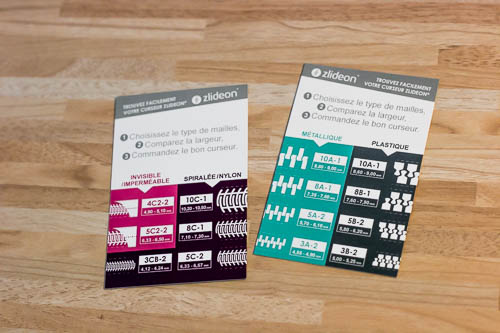
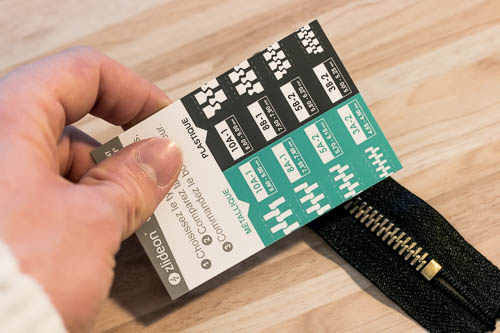
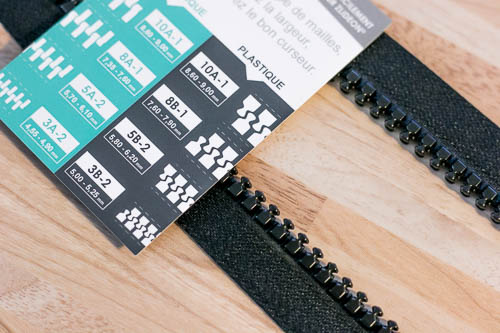
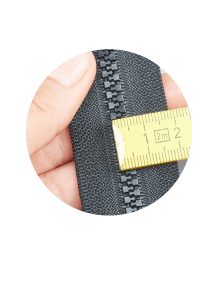
Cursors are normally classified by the size of the zipper mesh, i.e. the width of the teeth (mesh 3 or mesh 5).
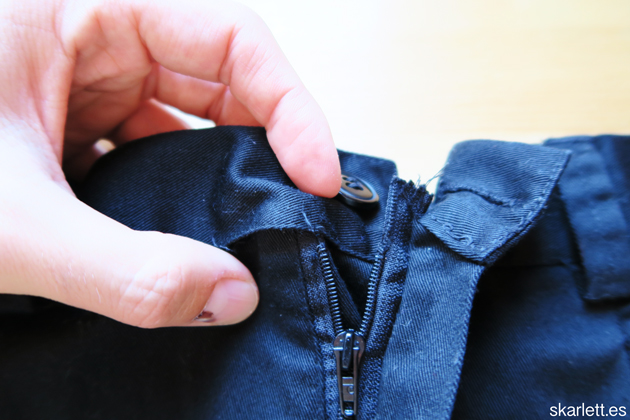
4. Once you've inserted the new cursor. Sometimes it resists a bit, so be patient.
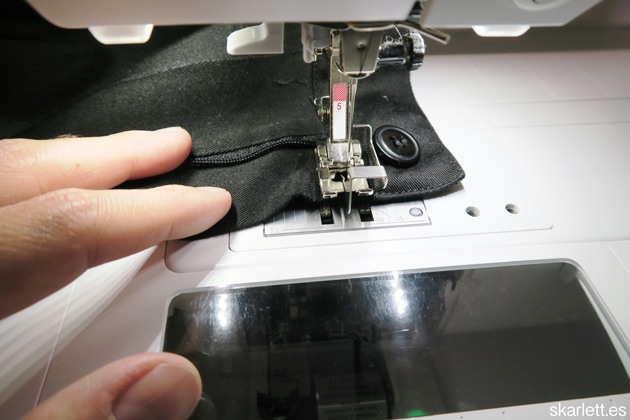
Tuck the end of the zipper back into the inside of the waistband to hide it, and thread a straight stitch, with your sewing machine, glued to the edge to close it.
5. To finish, make several cross stitches by hand, right at the point where you have removed the metal stopper.
Those stitches will again make a stop for the zipper cursor at your top.
And you've already changed your zipper cursor.
If nothing unforeseen arises, it will not take more than 15 minutes.


